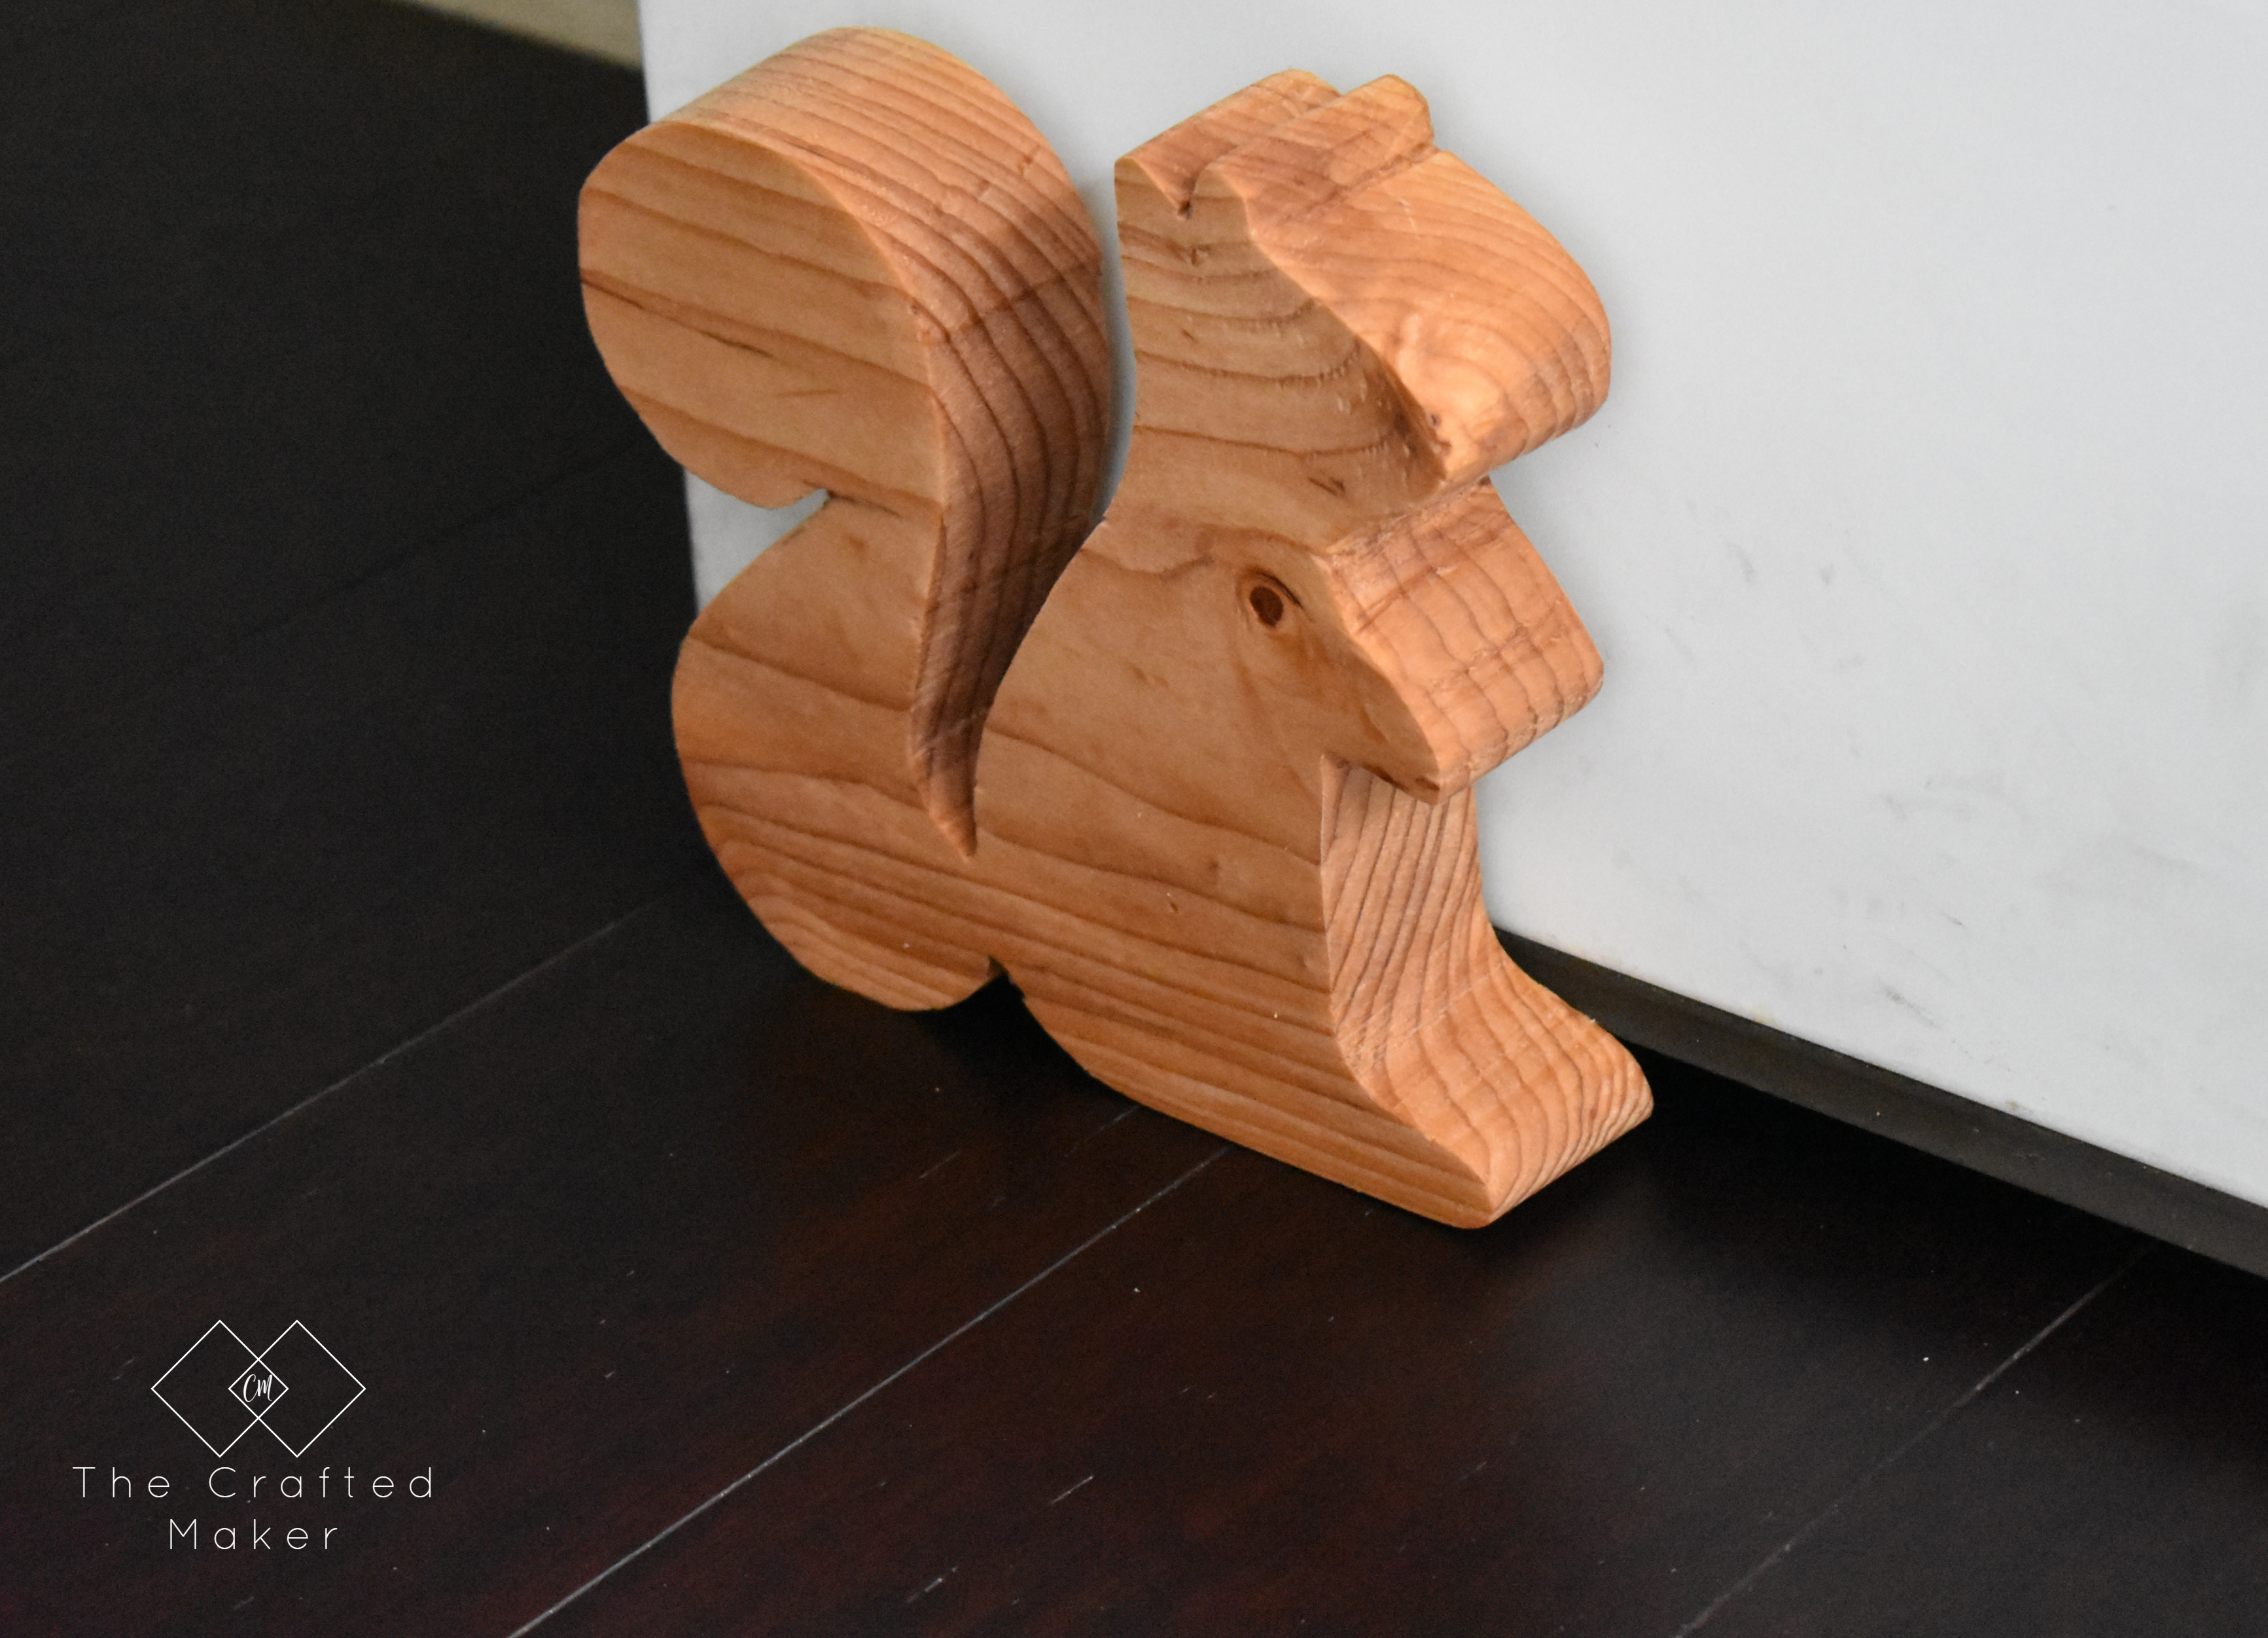
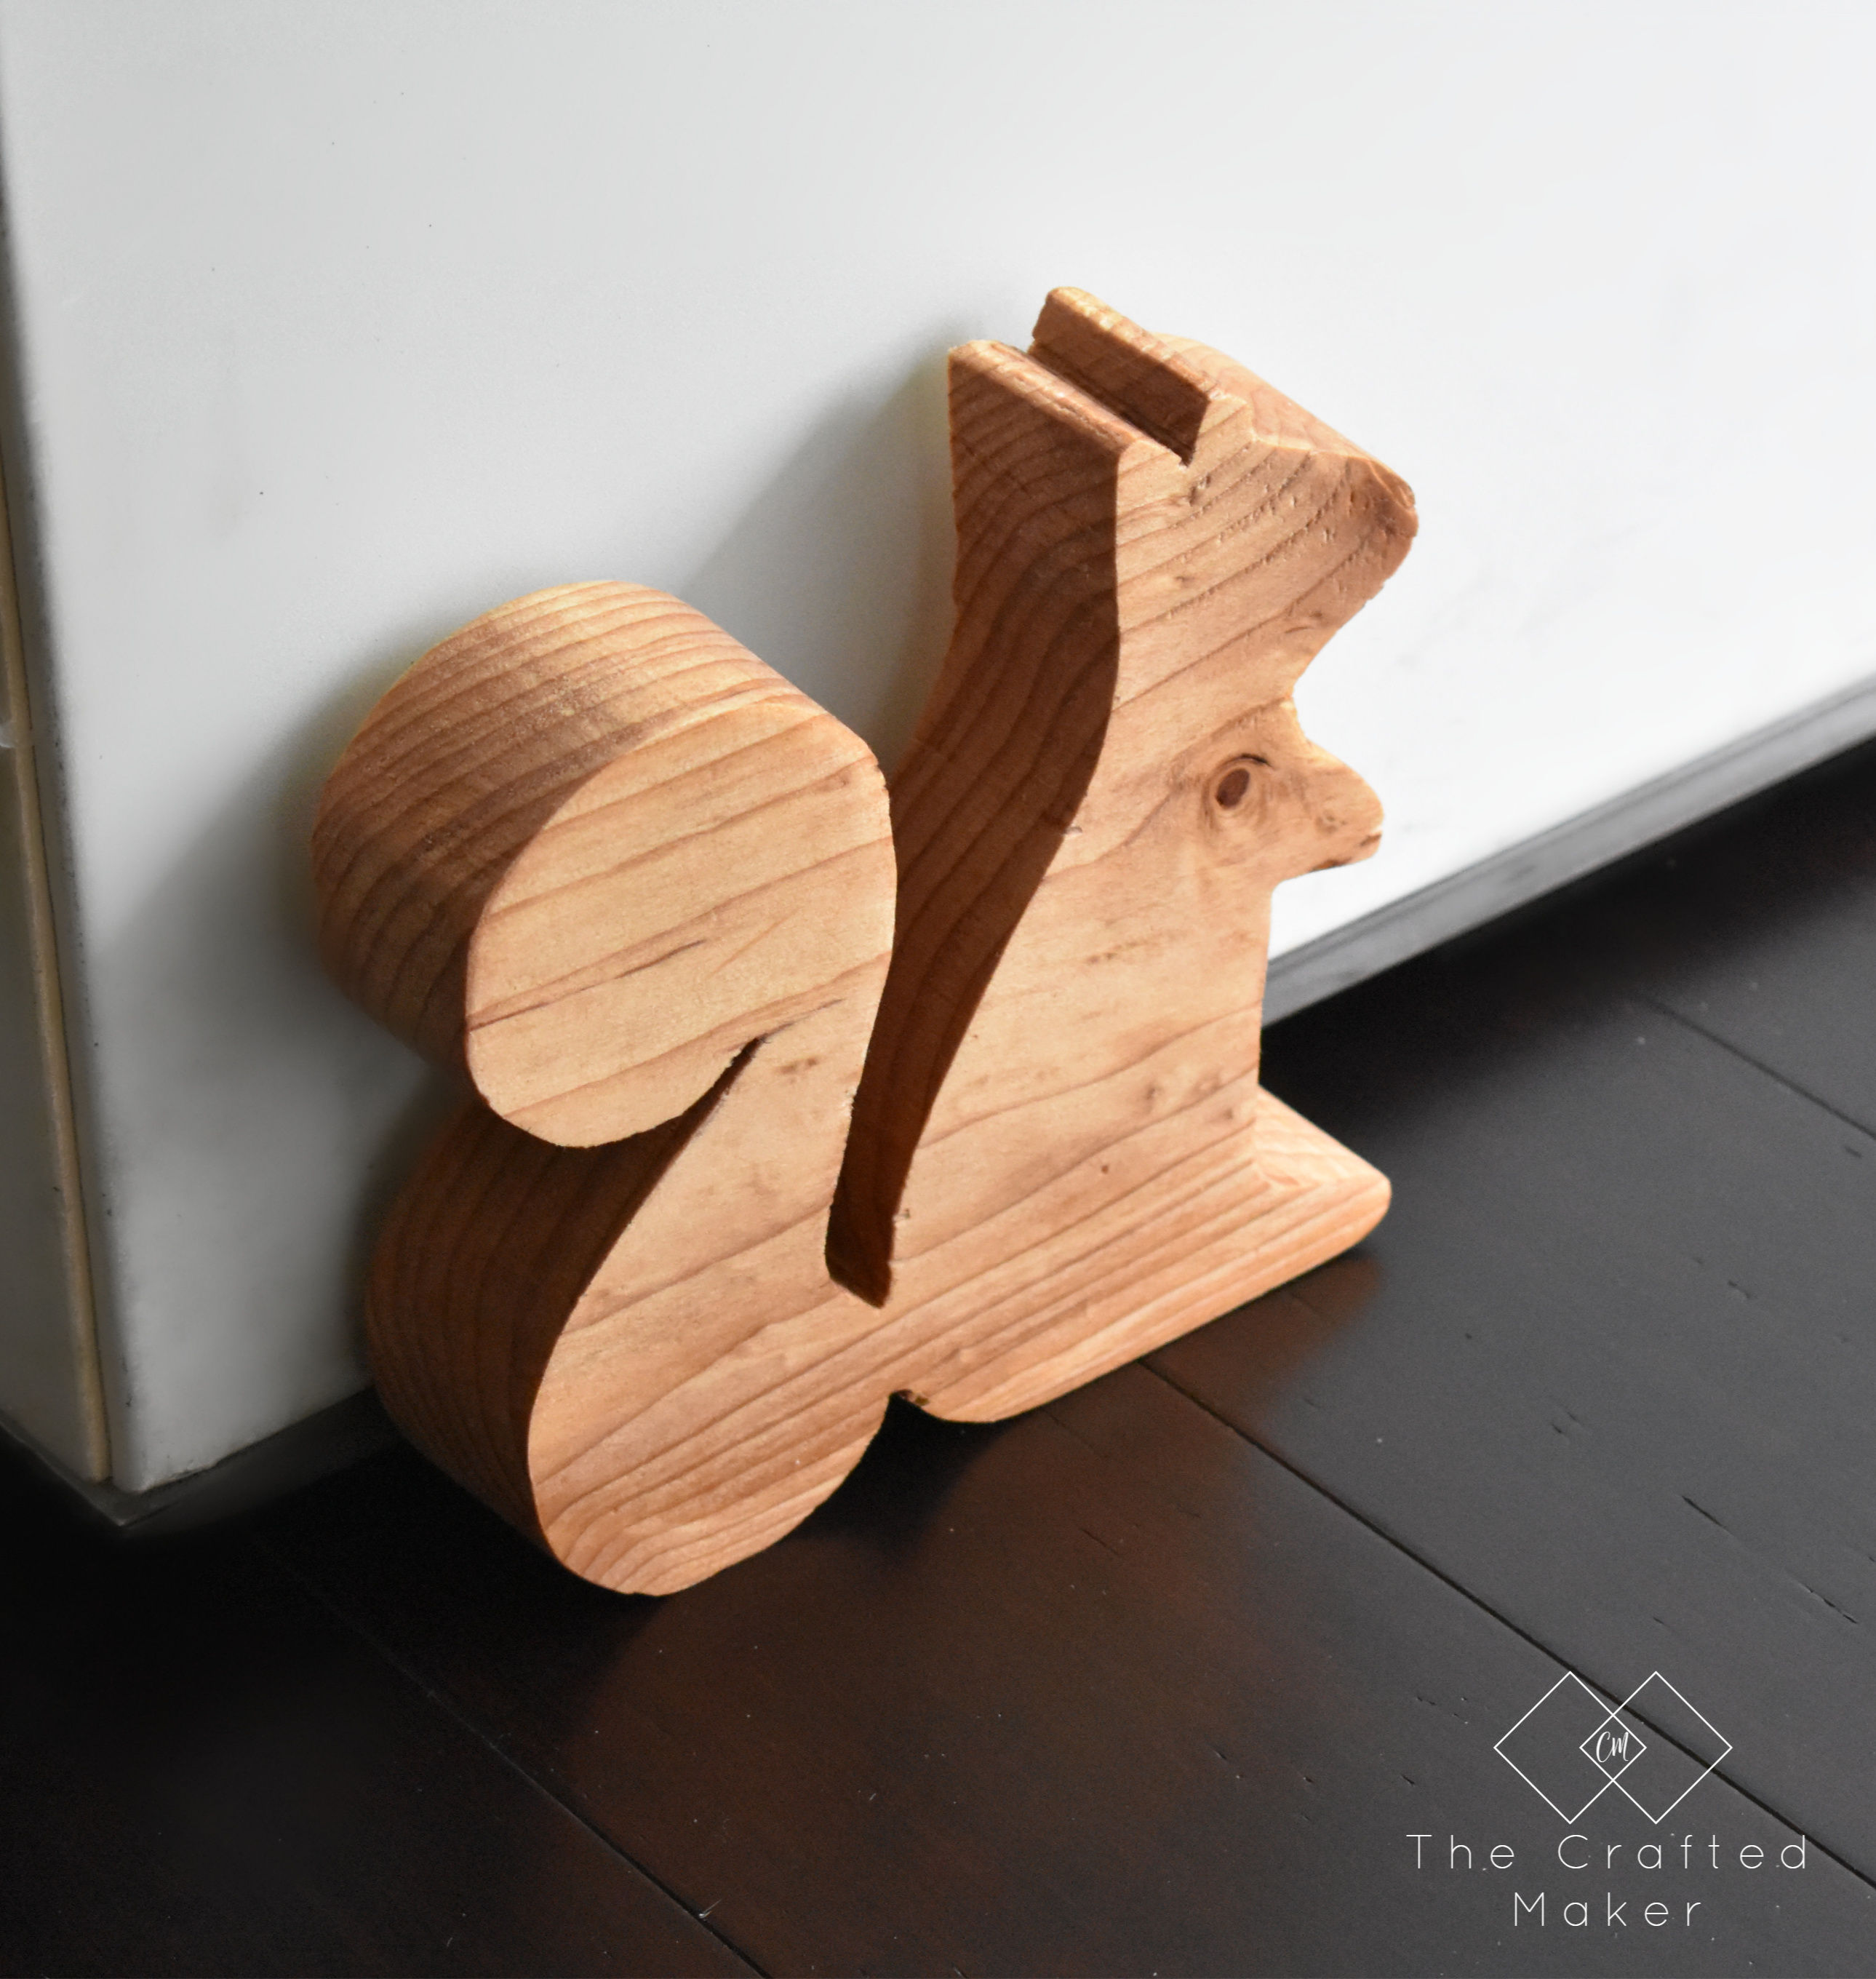
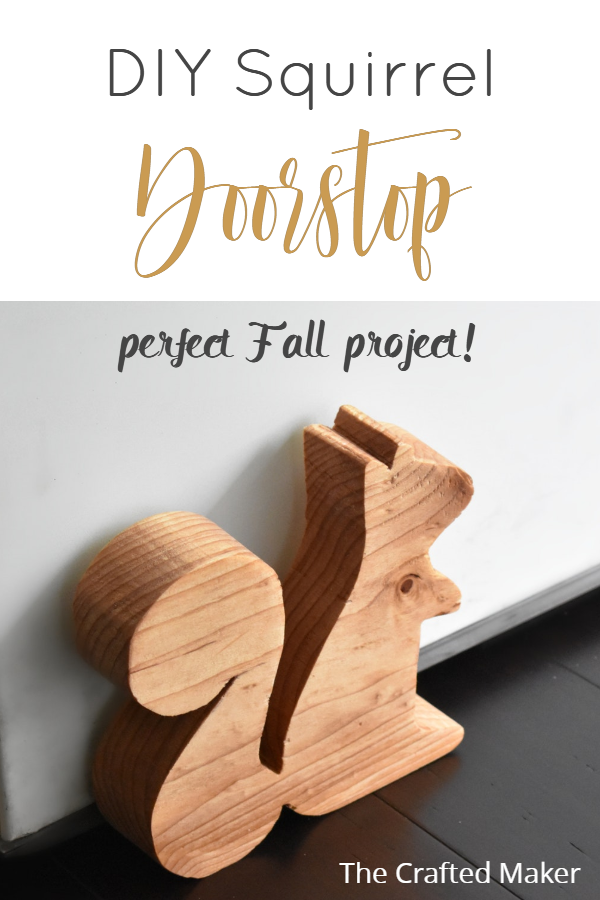
DIY Easy Wooden Fall Inspired Squirrel Doorstop

Happy Saturday and welcome to another scrappy Saturday project! Today I chose to go with the season and make a Fall related project. When I think of Fall, there are leaves falling on the ground, a crisp in the air, and a million and one little squirrels foraging for nuts to tide them over for the winter.
So to tie two of those things into one, I came up with a DIY squirrel doorstop. This will act as a seasonal decoration and will also let some of that wonderful crisp air inside the house! Here is what you will need to get started.
Affiliate links used. See disclosure here.
Supplies
Scrap wood – I had a piece of 2 x 10 cut to 9″ long.
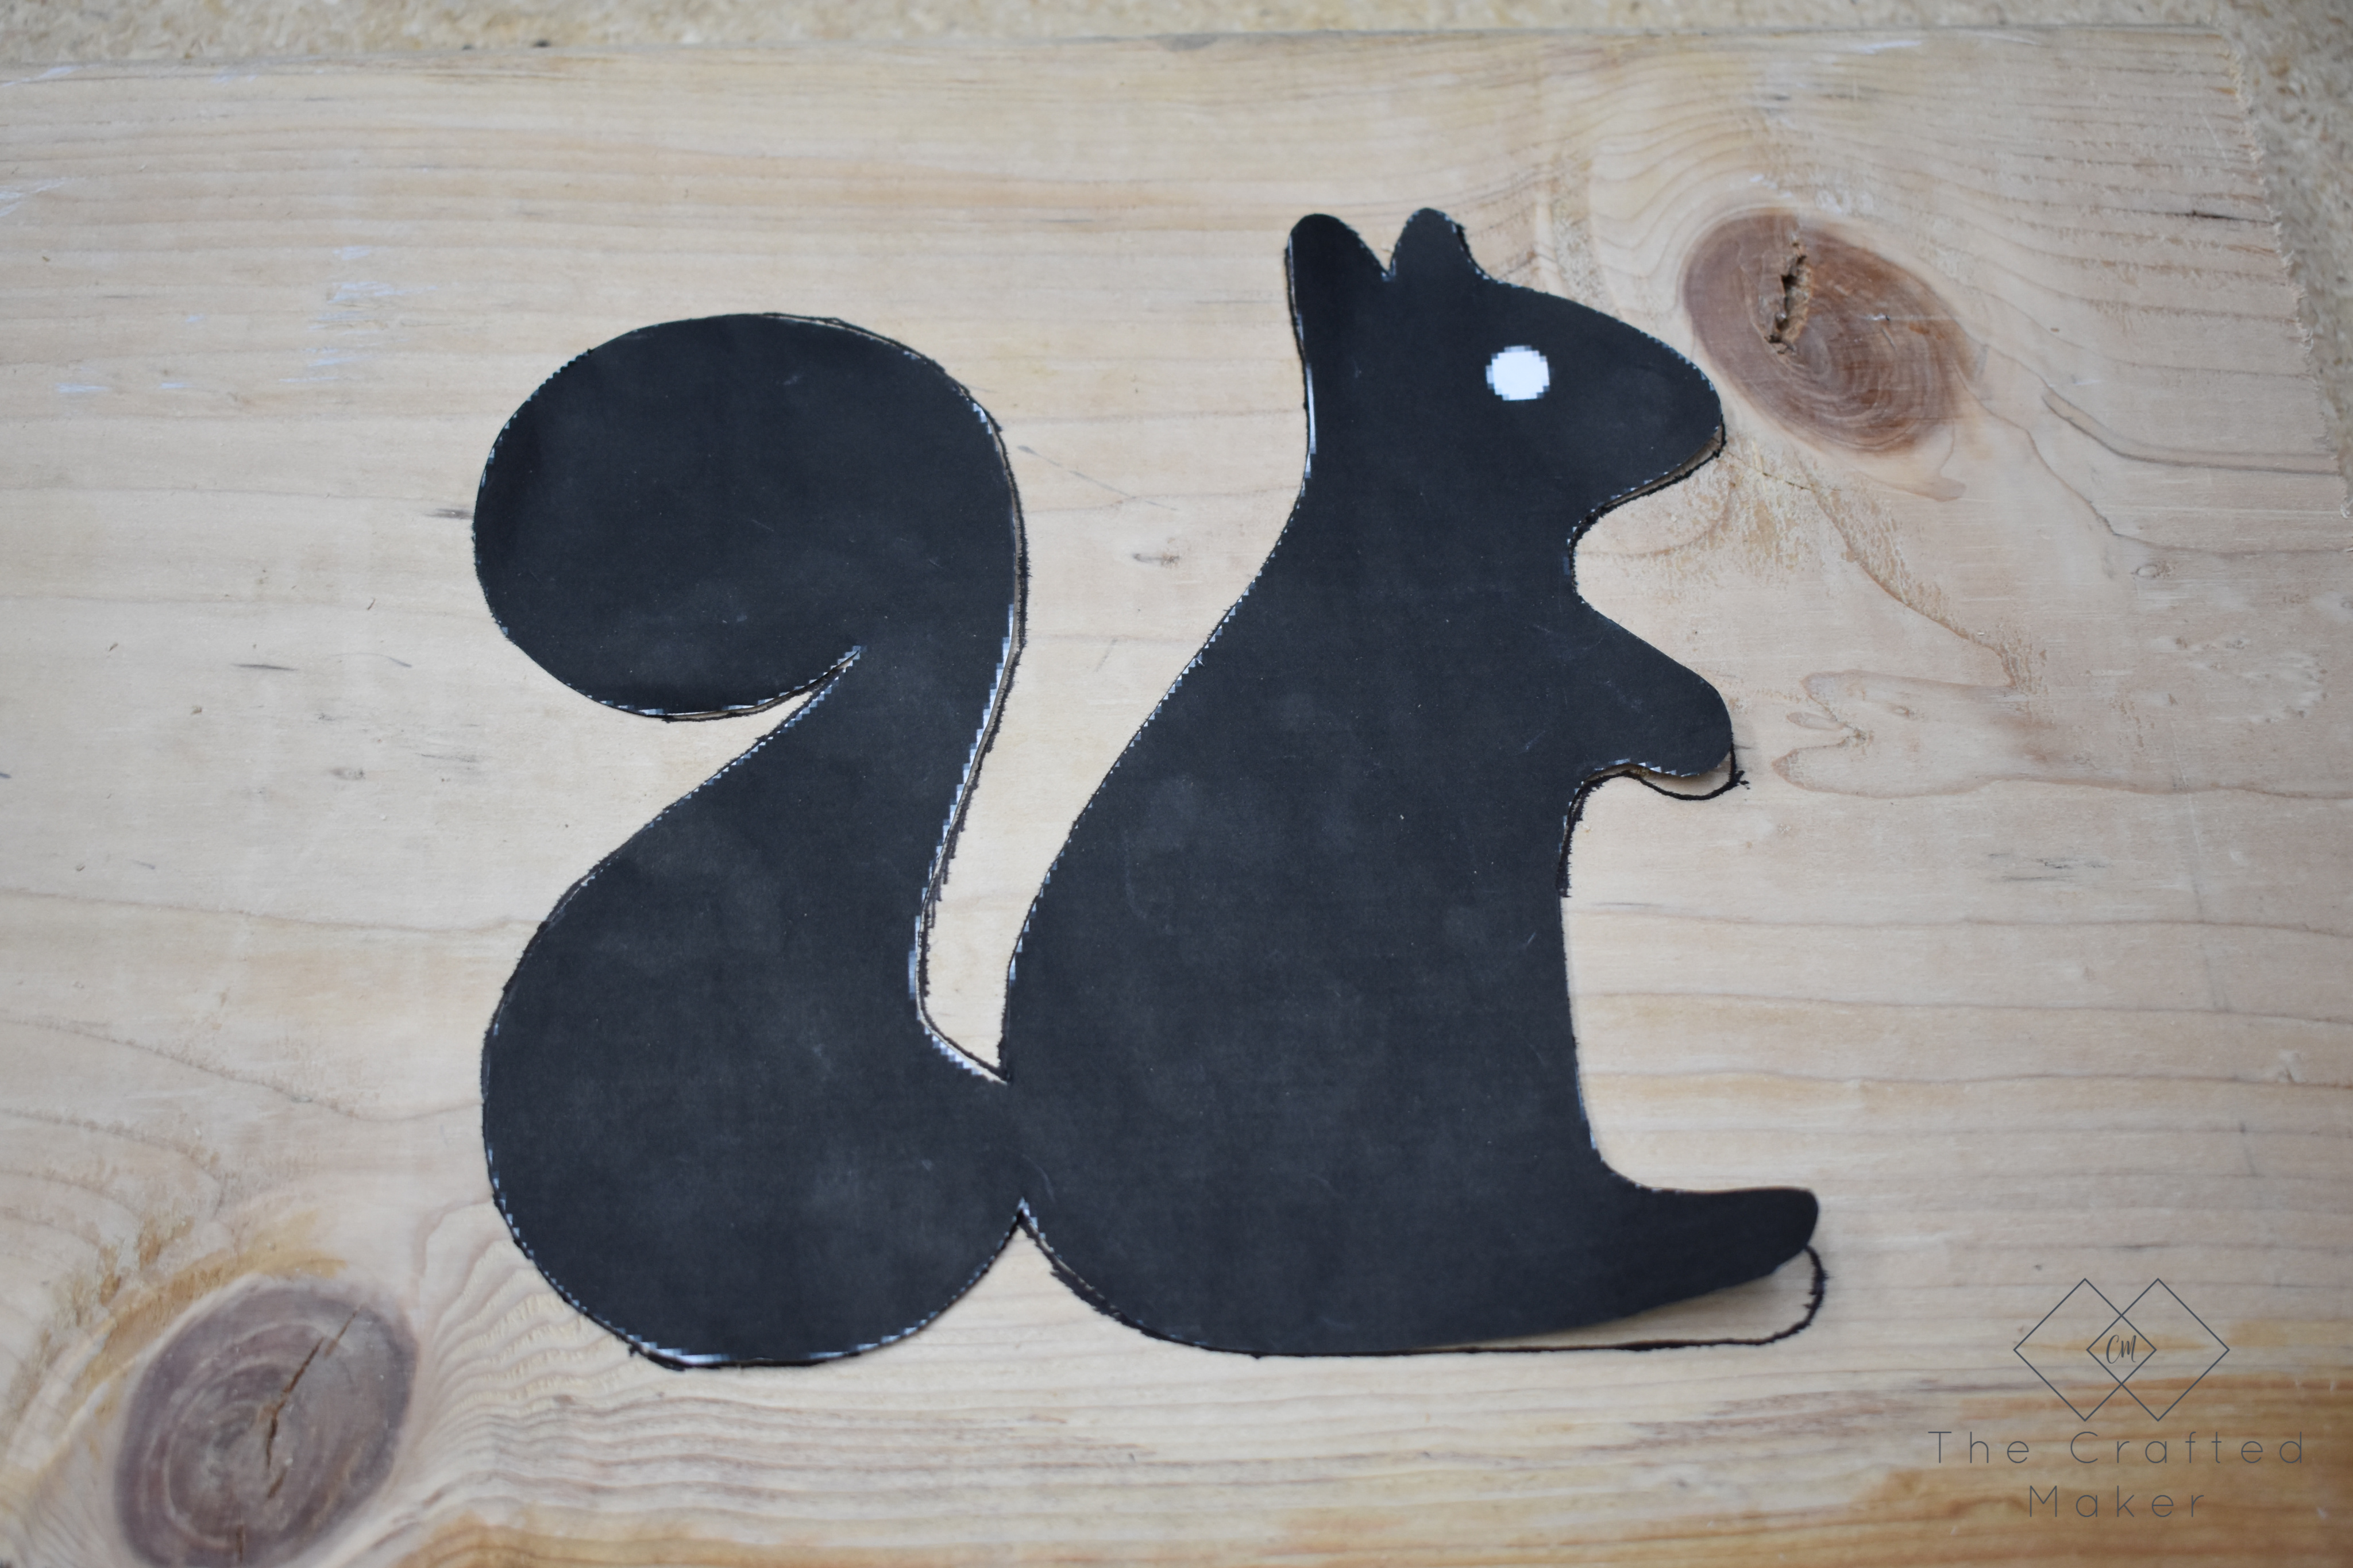
Squirrel printout (click here)
Paint, Stain, or Oil (I used Watco Danish Oil)
Pen or Pencil
Sandpaper, for hand sanding
Tools
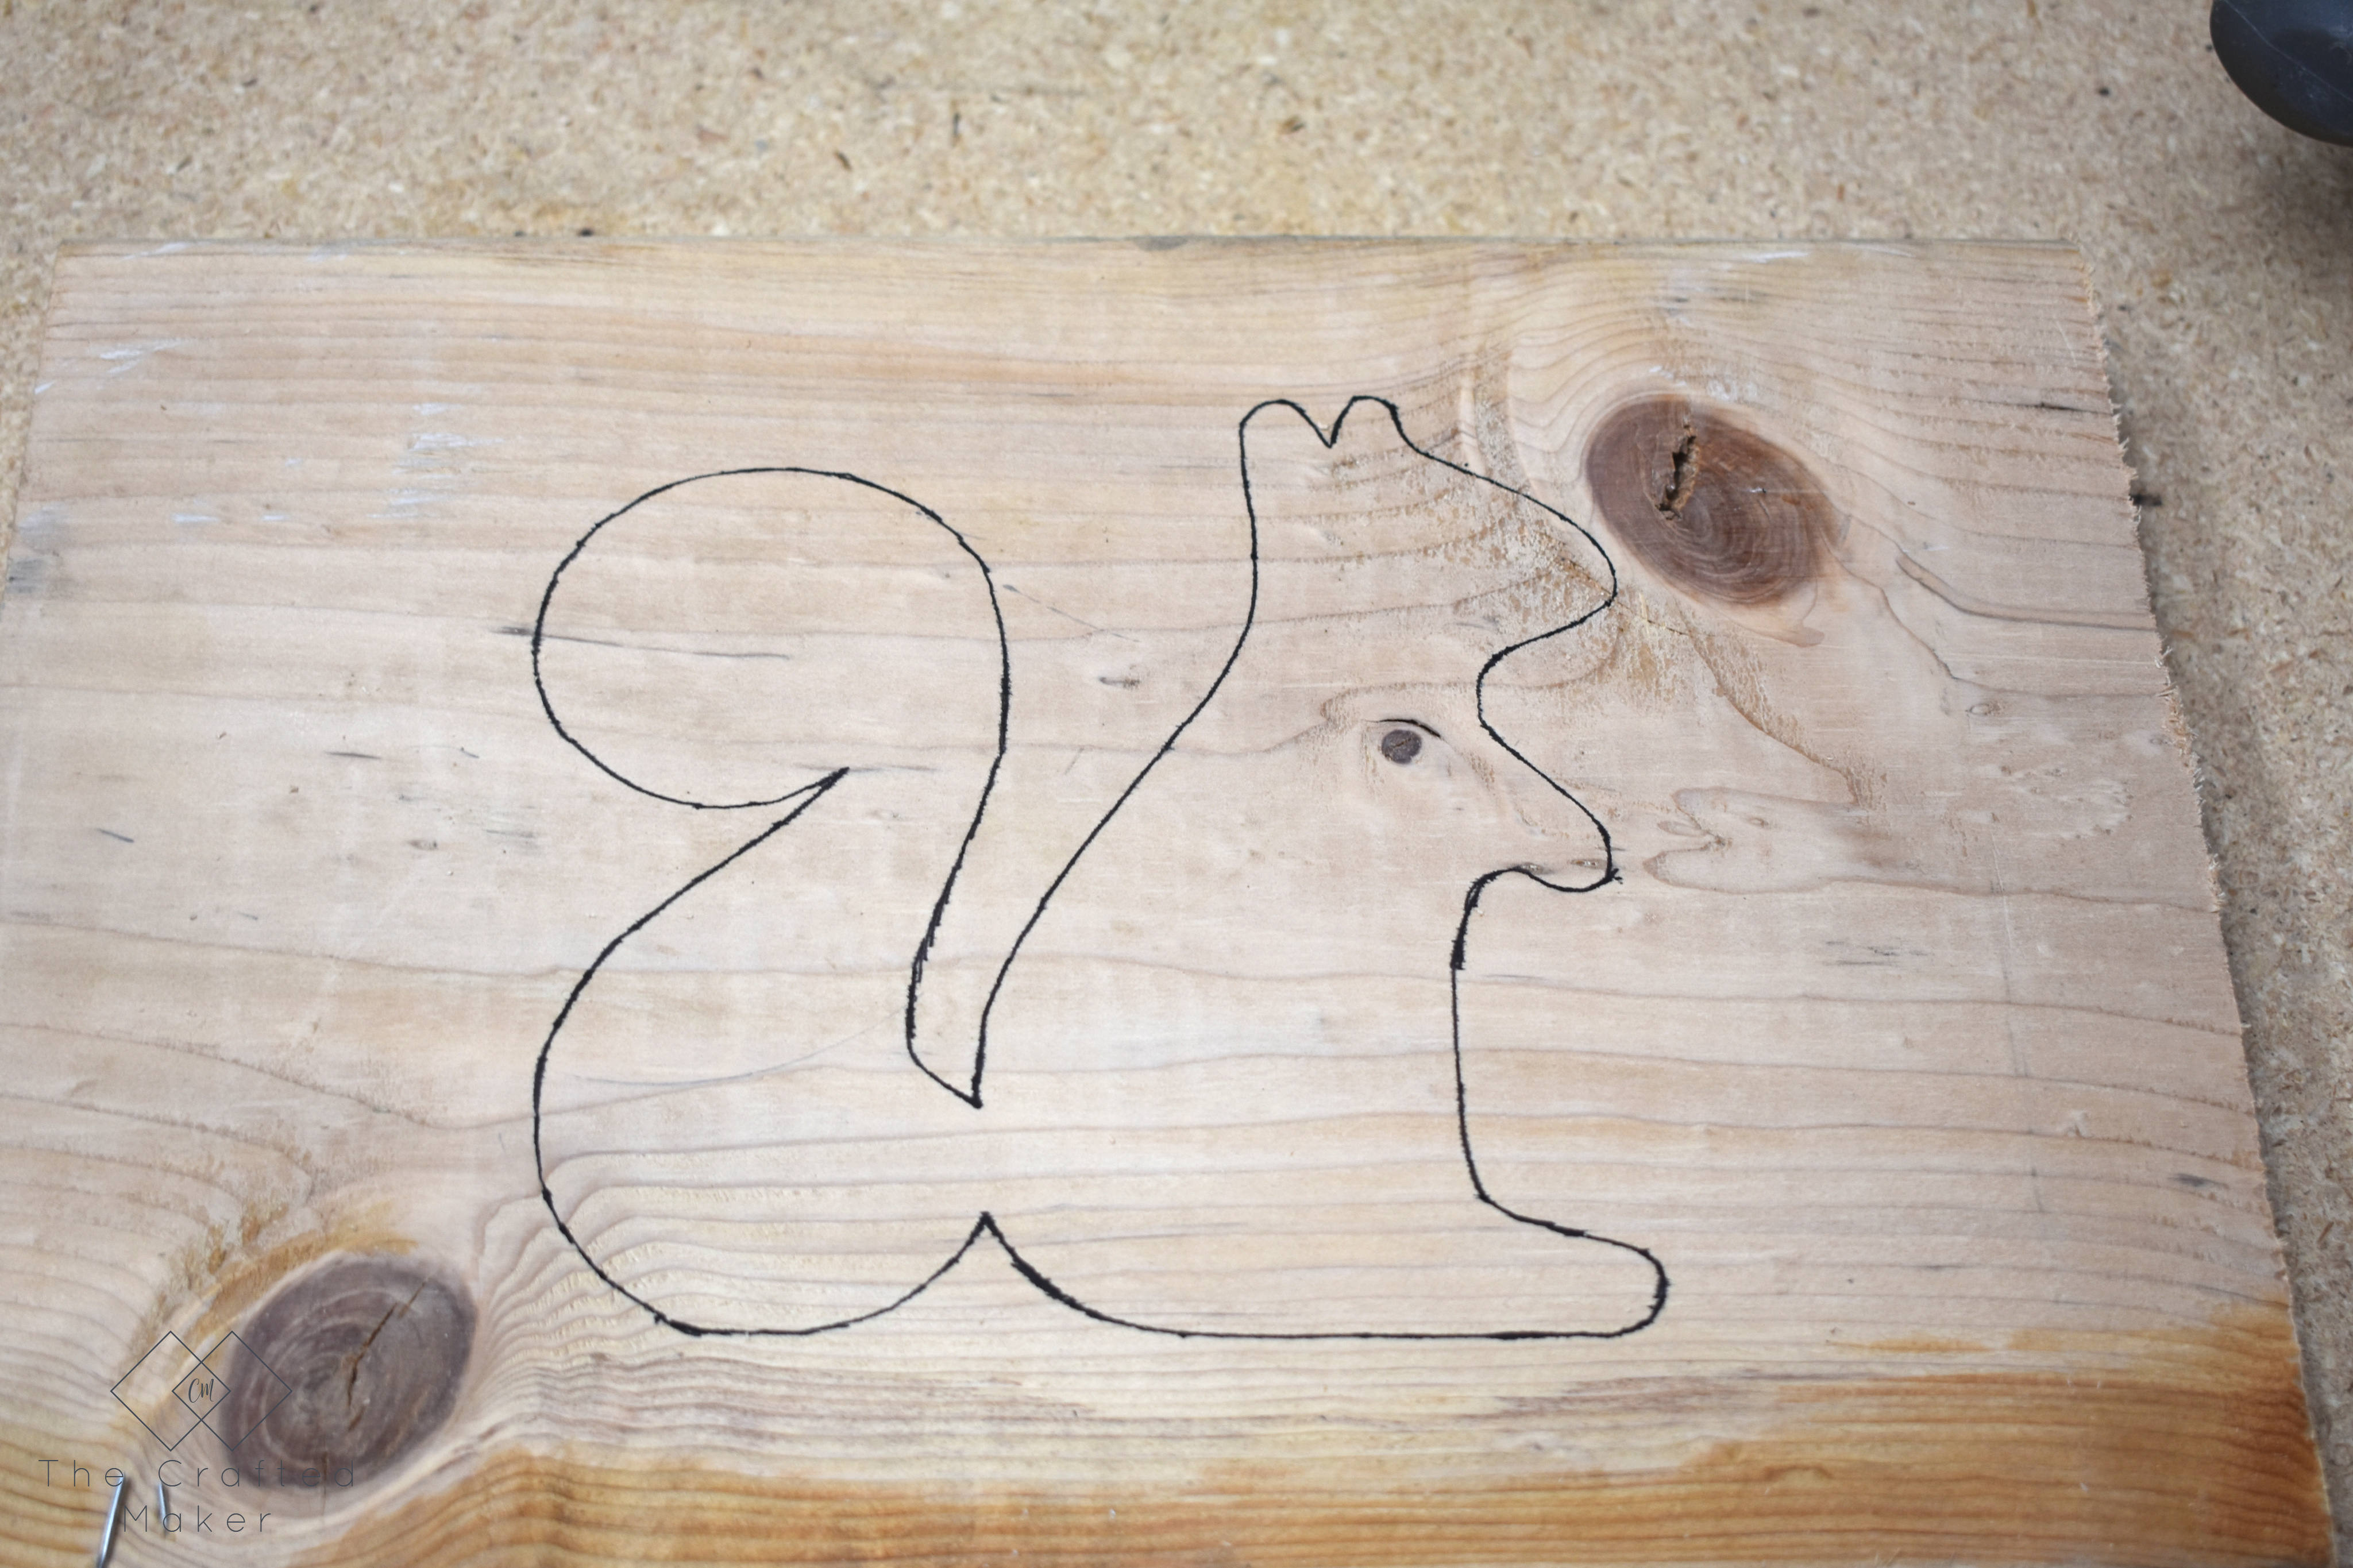
The first thing to do is print out the squirrel clip art. This can be found in the supplies section above. Cut out the squirrel and trace onto your scrap wood with a pencil or pen.
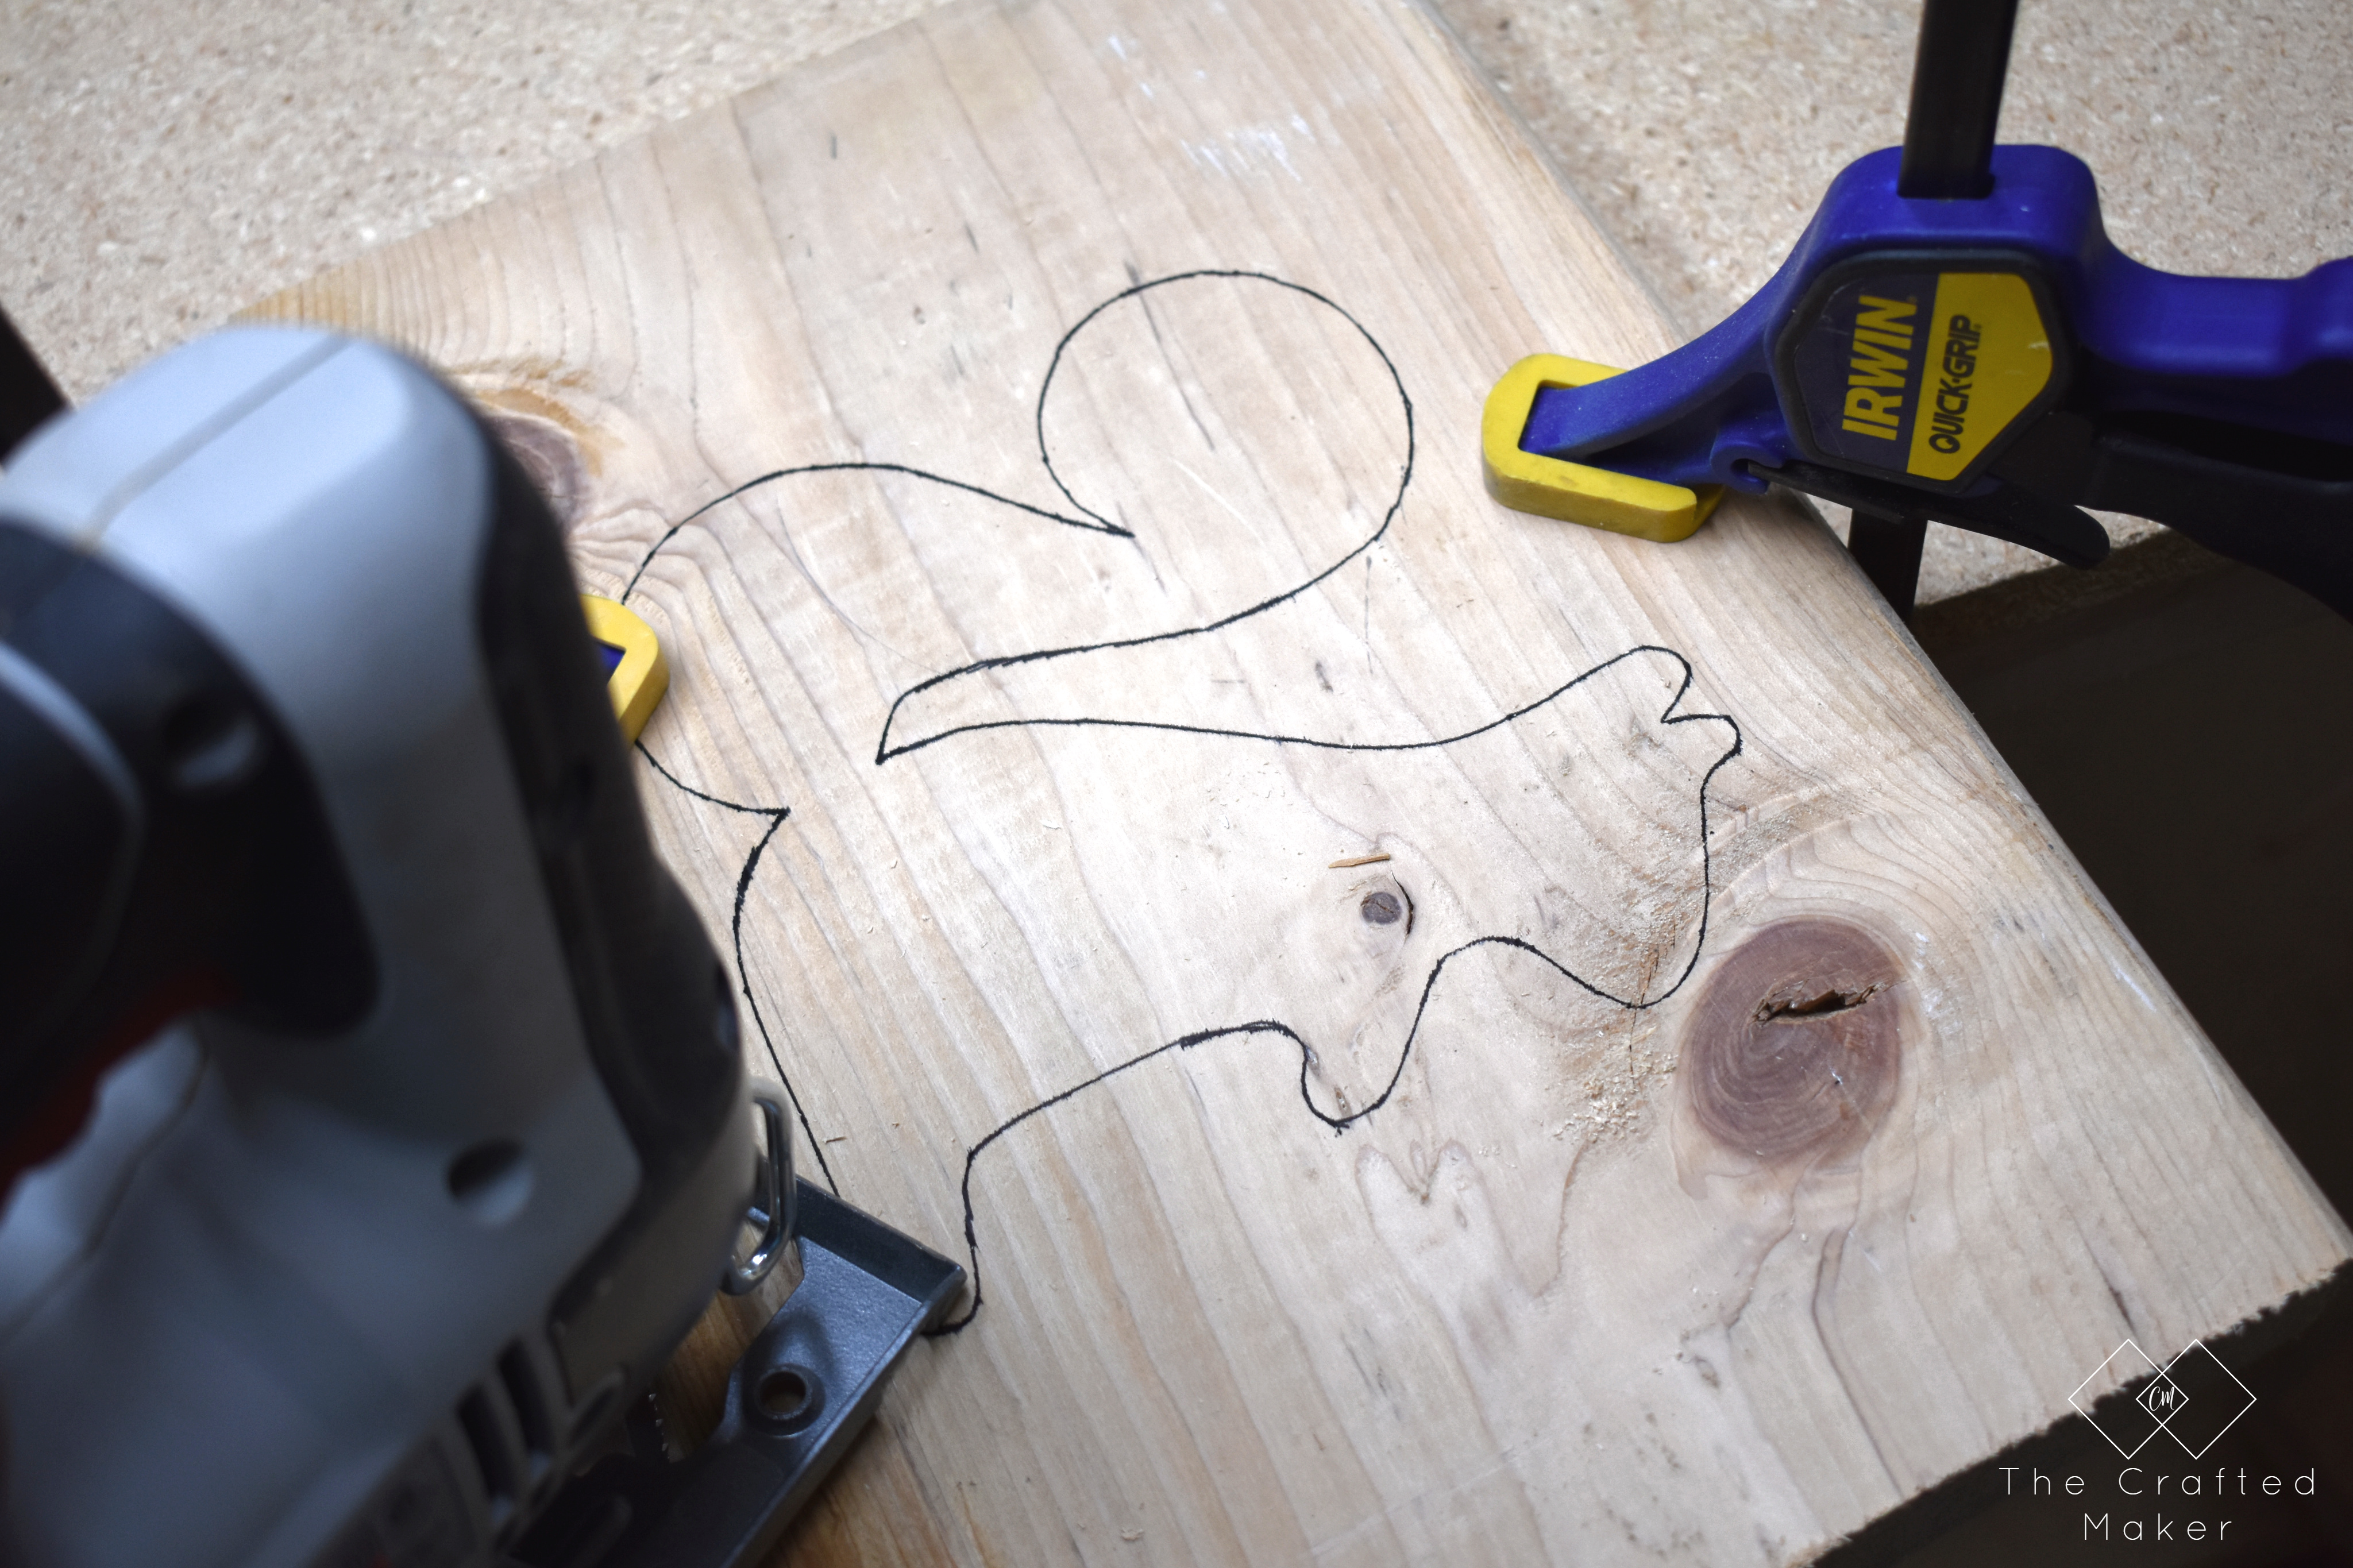
The second step is to cut this cute little squirrel out. I used my jigsaw for this. Something I like to do when cutting out a shape, especially a smaller one, is to use clamps to attach it to the work surface. This will ensure an easier, more precise, and safer cut. Just be mindful of the surface you are clamping it to. I have cut into my workbench before when not paying attention to the placement of the project. Ooooops!

Time for Finishing!
Once the little guy is cut out, it’s time to sand him. There are going to be a lot of places that the sander can’t reach. For these places, I sanded by hand as best as I could. We are not going for perfection here, just a nice surface to look at.
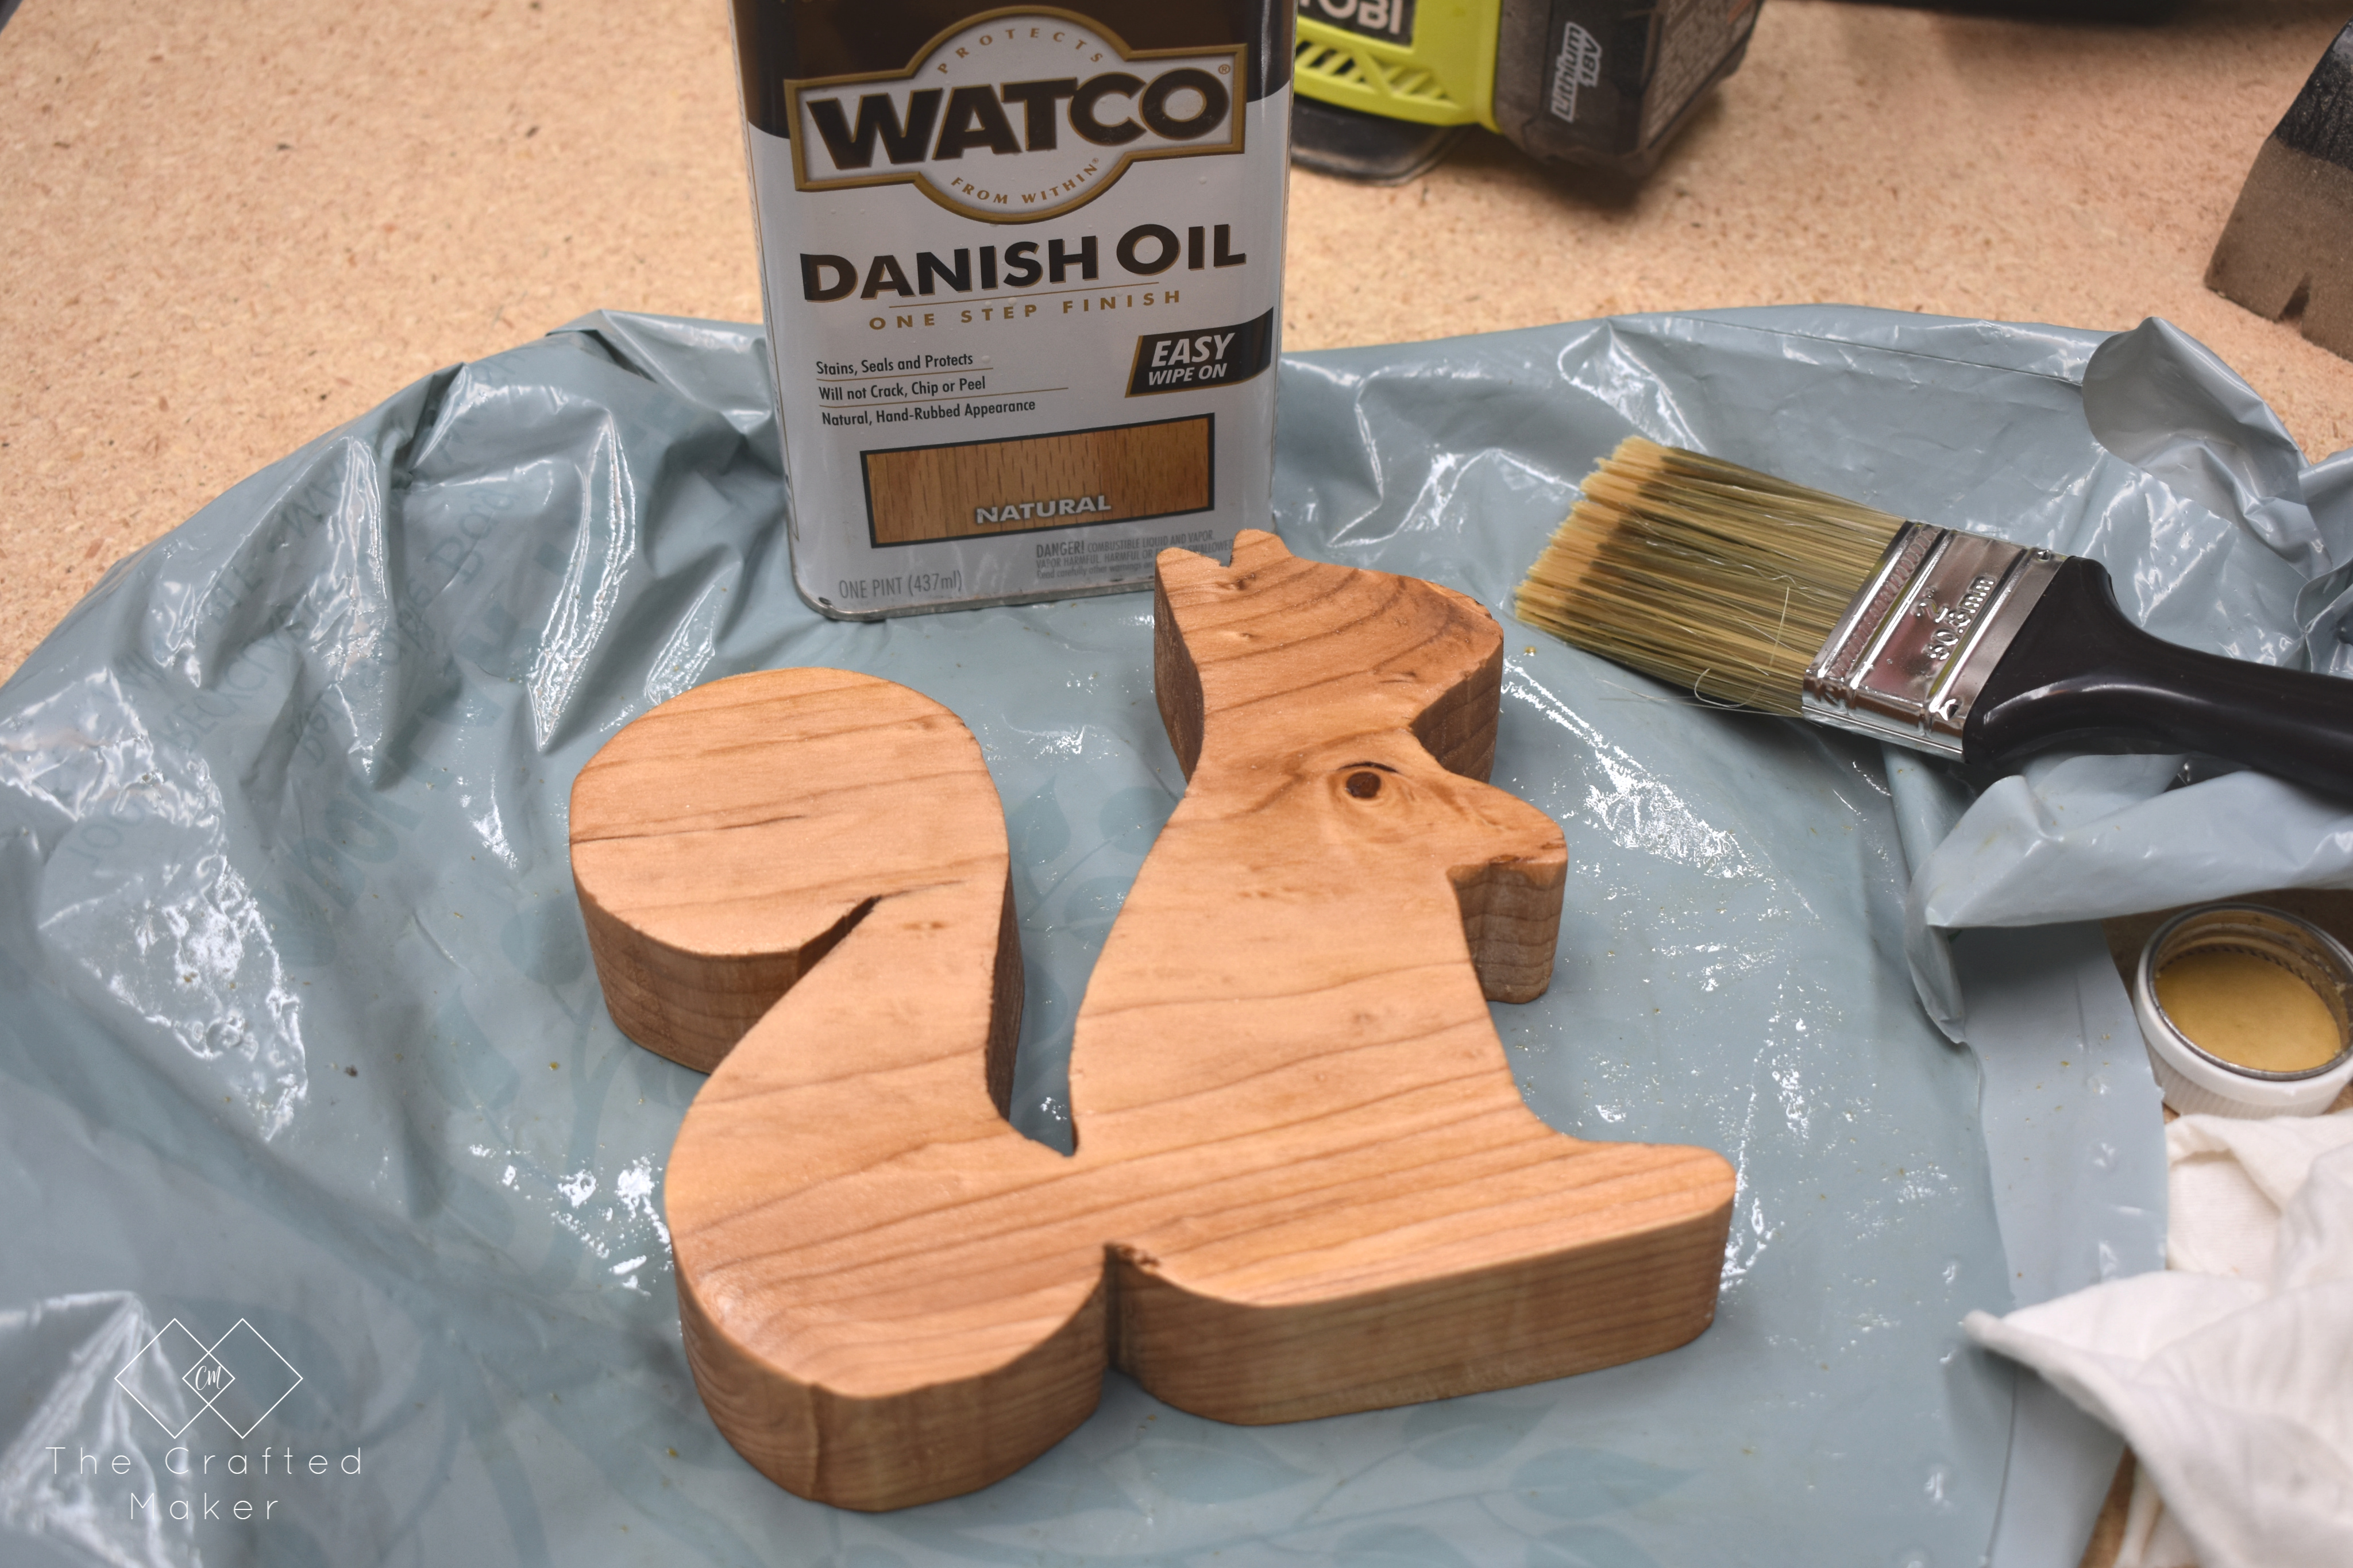
Once the doorstop was sanded as best as possible, I used some Danish Oil to finish it up. The best way to use the oil is to apply one coat, let dry for 15 minutes, and apply a second coat. I usually let my last coat set for about an hour before using the project. You may also have to wipe off the remaining oil with a rag if the second coat was heavy.
That’s all there is to it and now we have a very cute and very Fall doorstop to enjoy for the season! I am loving these Scrappy Saturday projects! If there is anything you all would like me to make for a Scrappy Saturday project, just let me know. You can contact me on the contact page in the menu.
Pinning is always appreciated!
